when i want install local configuration store i have this error message: automatic collection of configuration data failed.
i install my topology as a Enterprise and install all other prerequisite but i don't know why i have this problem.
Technology Tips and News
when i want install local configuration store i have this error message: automatic collection of configuration data failed.
i install my topology as a Enterprise and install all other prerequisite but i don't know why i have this problem.
Hi,
I assume that this server is sitting on DMZ and not joined to the Domain. if so, you need to export the CMS store from the FE server and manually import it. use below command in Lync Shell to export.
Export-csconfiguration filename c:\topology_export.zip
Hi,
Did you puplished the Topology successfully?
Hi,
Please make sure the topology has been published successfully.
The computers defined in the topology must be joined to the domain, except for Edge Servers, and in AD DS. Please make sure the SQL Server-based Back End Server must be joined to the domain and it is available. Please check port 1433 is allowed on SQL Server-based Back End Server again.
If the server you are trying to install is Edge Server, please make sure the port 4443 is allowed on Edge Server then export CMS from FE server and import it to Edge Server.
Regards,
kent
same exact error, no we did not publish the topology, how do we do that?
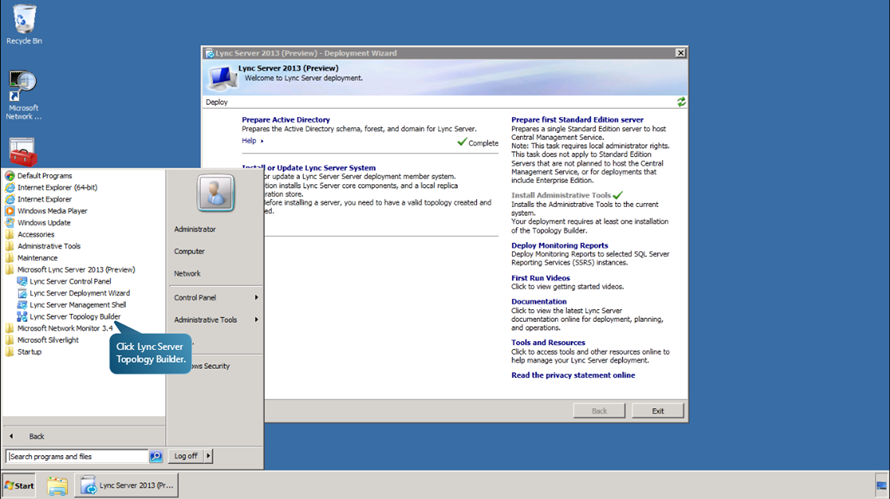
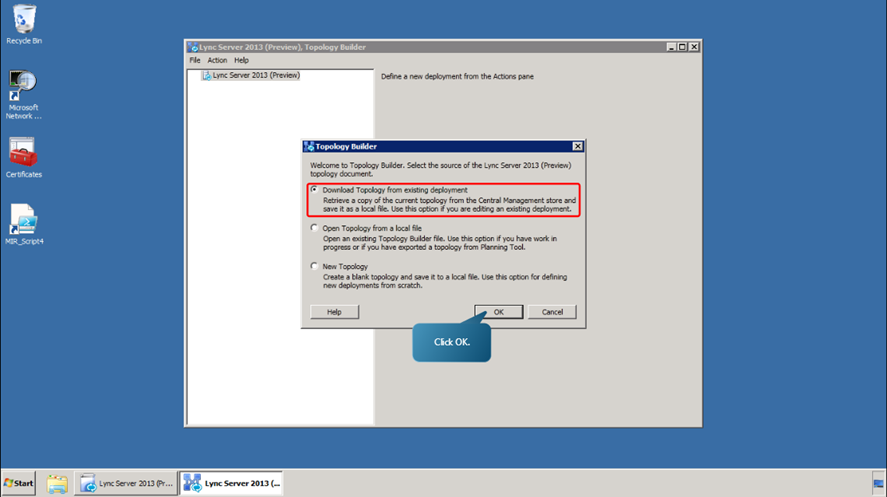
When we launch the Topology Builder we get prompted with this:
Welcome to Topology Builder. Select the source of the Lync Server 2010 topology document.
O Download Topology from existing deployment
O Open Topology from a local file
O New Topology
Well this is the first install so do we pick New Topology, I have no idea what to do.
Hi,
Kent and Hany are correct. You will get this error if the Lync Topology has not be successfully published. I have come across this issue in my own Lab at home on Lync 2010 and Lync 2013. As per my blog post
http://priceylync.blogspot.co.uk/2013/04/automatic-collection-of-configuration.html
mr_abdi@live.com
Hi
The following steps must be performed before installation
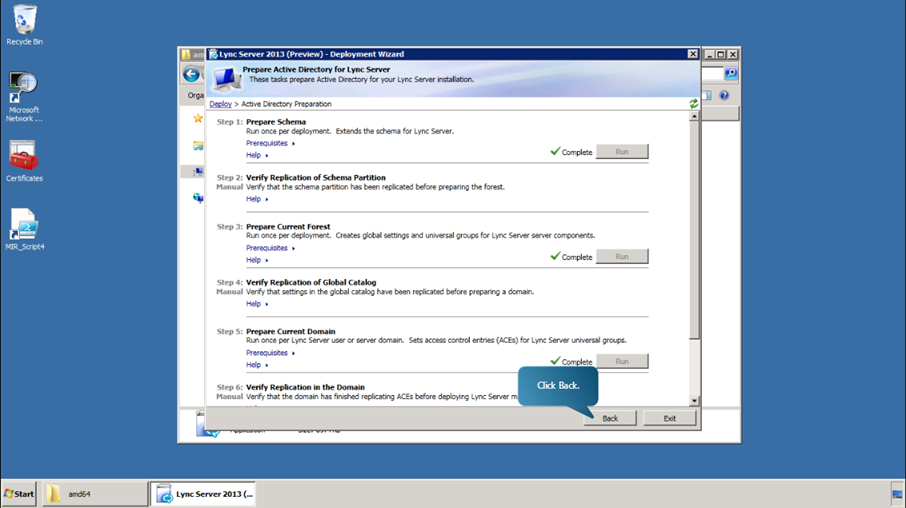
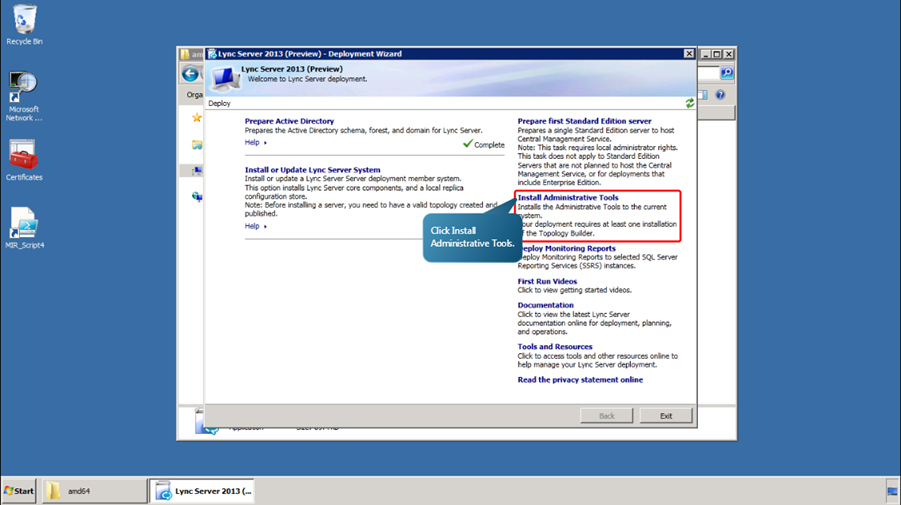
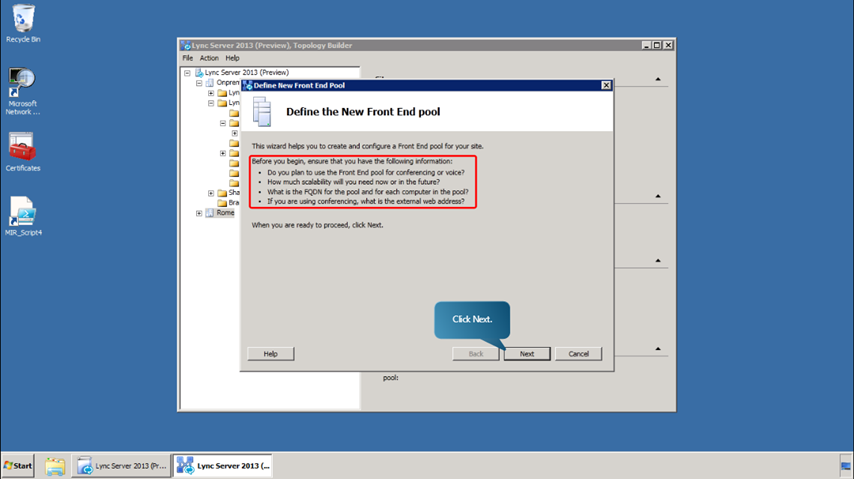
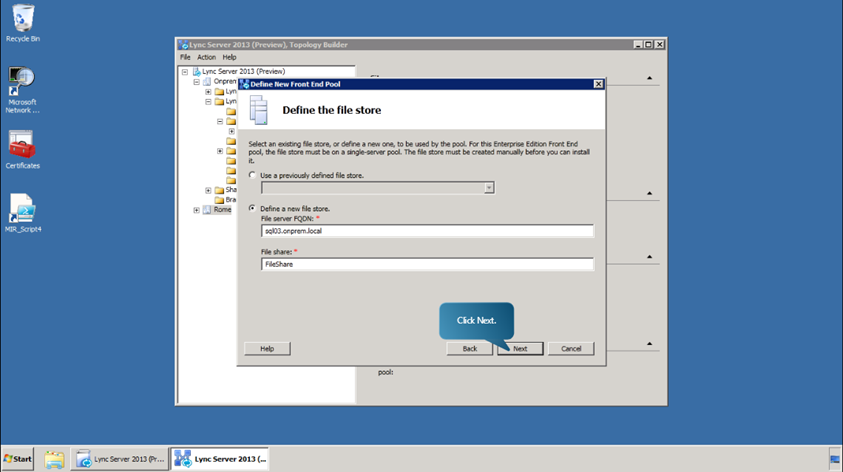
In the next procedure, we will see how to use Topology Builder to add an additional site; how to define Lync Server Enterprise Edition Front End Pools; and how to define Front End Servers for those pools. We will also see how
to define other Lync Server components and configurations.
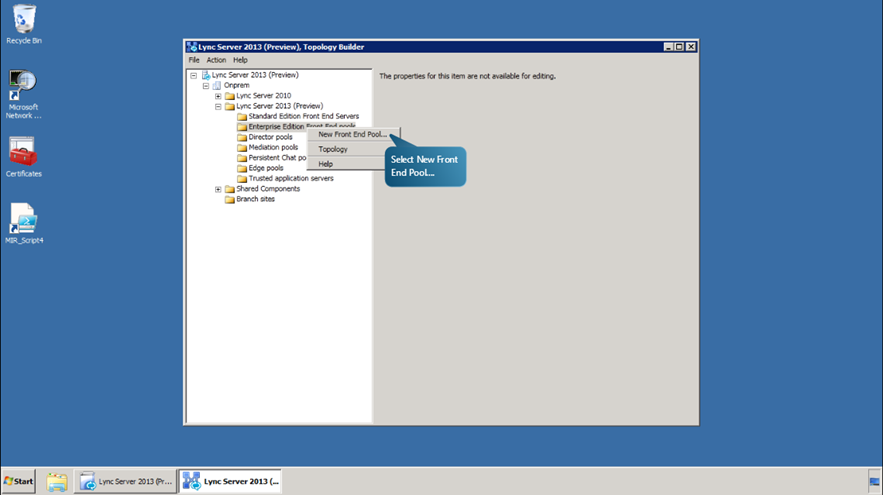
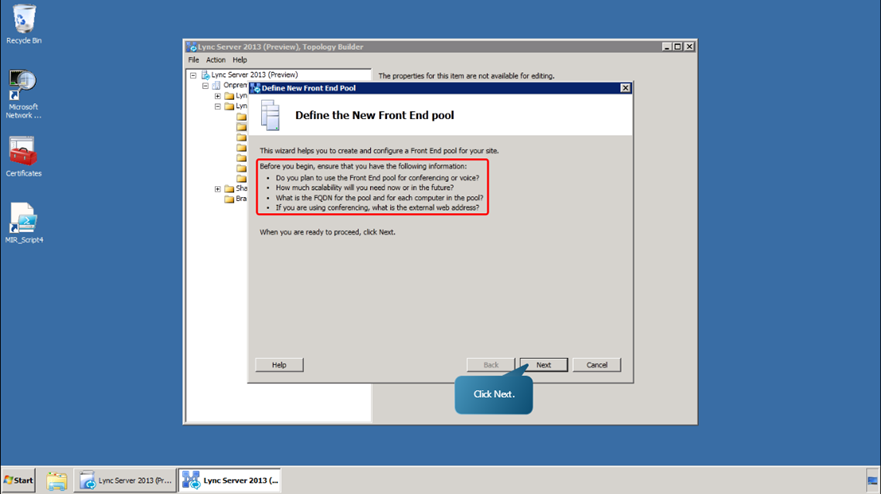
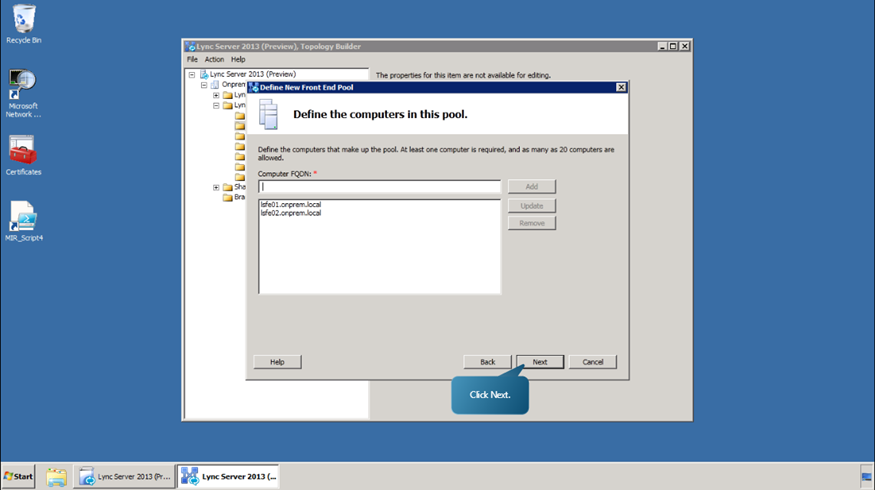
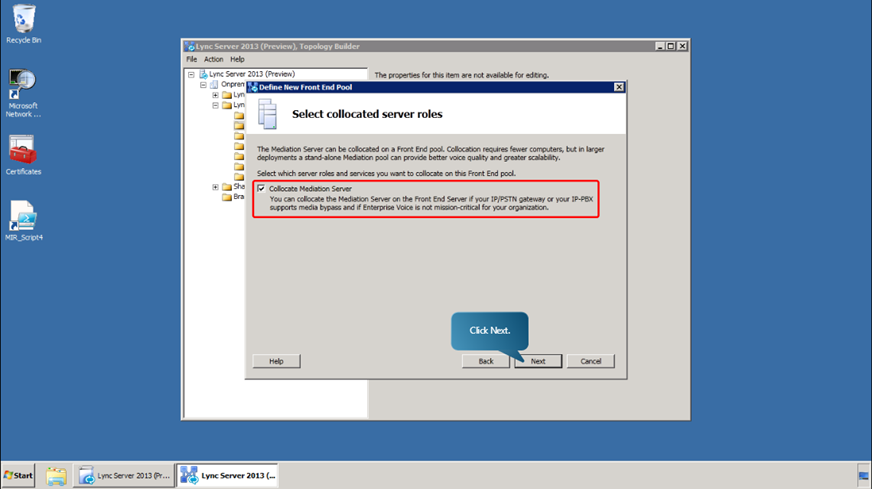
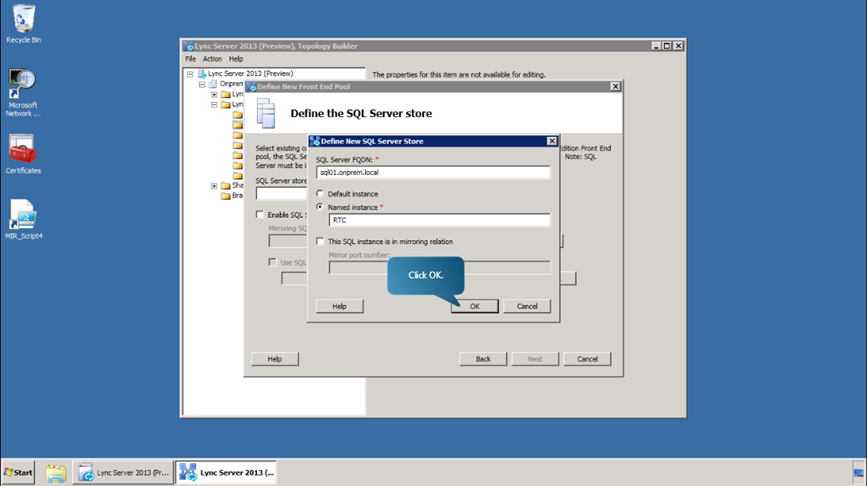
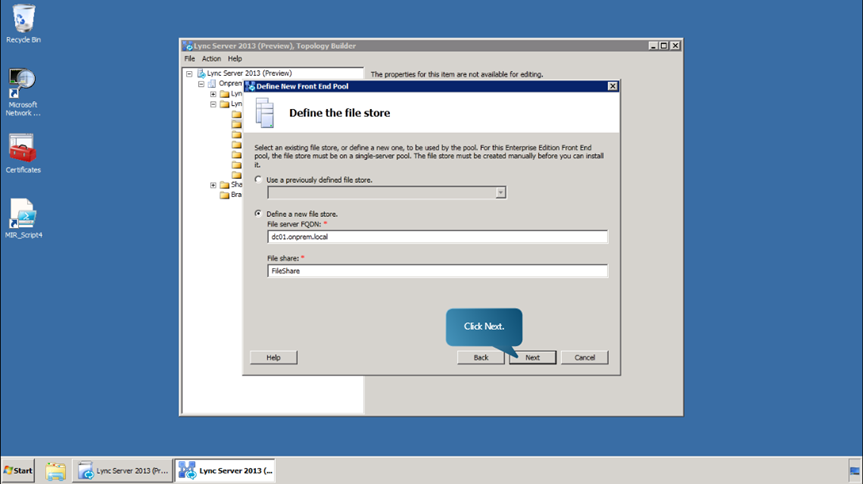
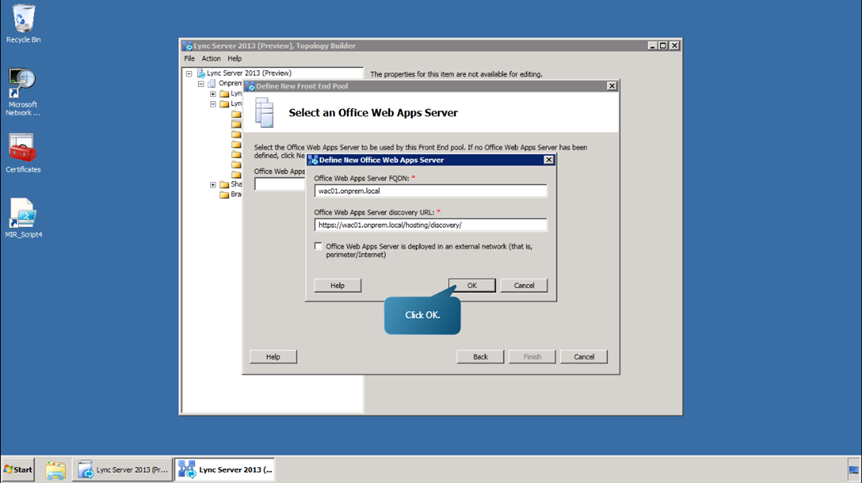
Next, we define the Enterprise Edition Front End pool for Rome, the site to be added, using Topology Builder.


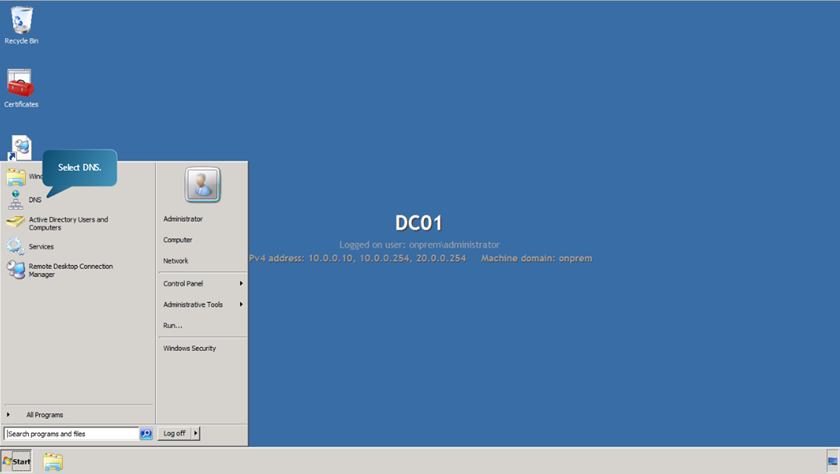
We will now see how to prepare the topology for the new Lync by creating the necessary Domain Name System (DNS) records and the steps required to publish and enable the topology.
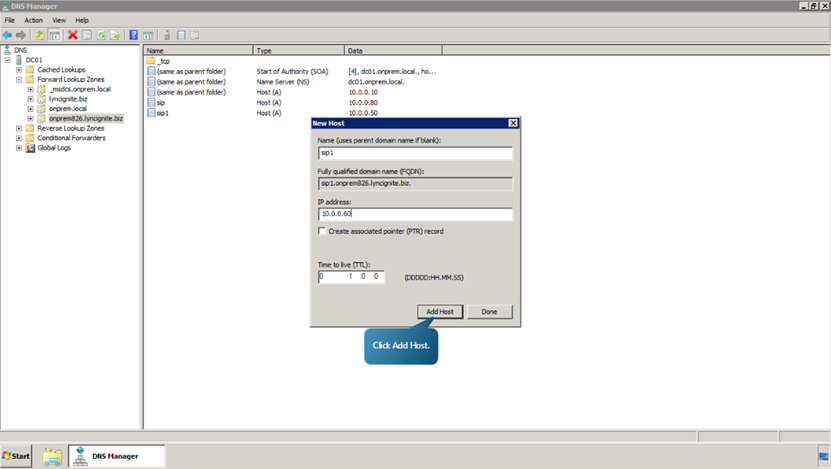
We shall now create the DNS A records for Session Initiation Protocol (SIP) in the Assigned Child Domain DNS zone. Specifically, lets create the SIP DNS records for the Redmond and Rome sites that are required for DNS load
balancing.


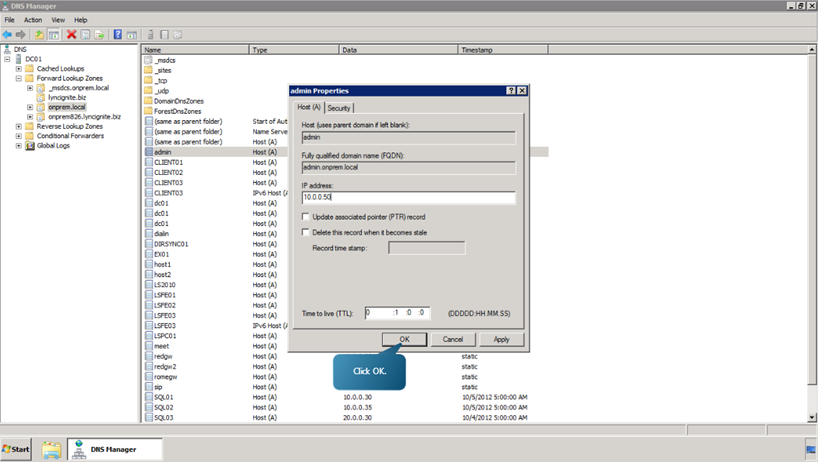
Now, we will see how to create the DNS A records for your organizations DNS zone.


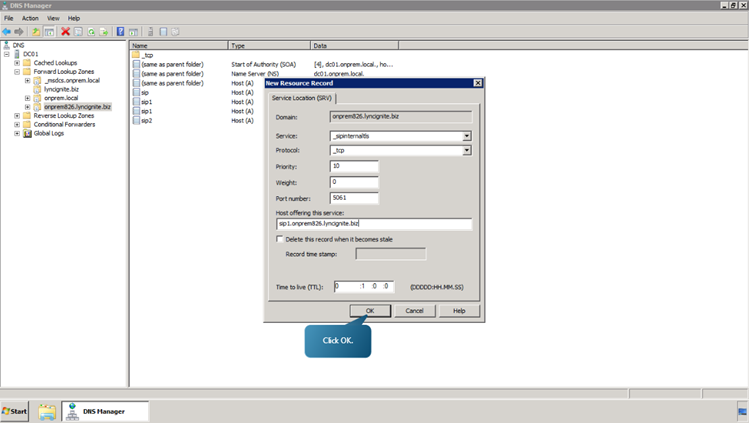
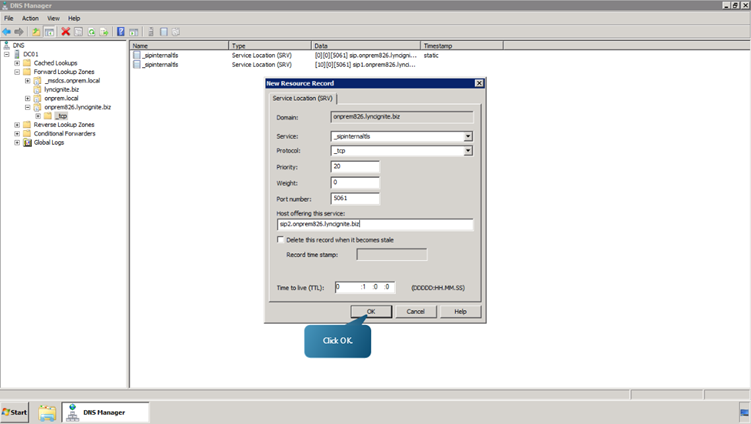
Now, we will see how to create the Service (SRV) records necessary for automatic client sign-in.

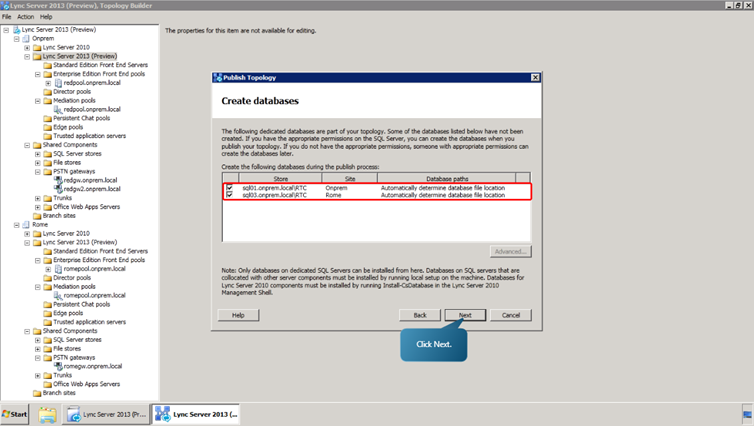
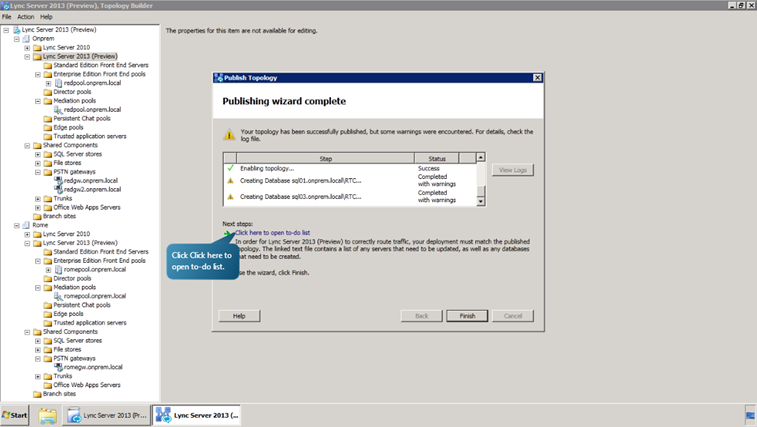
Next, switching to Topology Builder on the first Front End Server now associated with the Redmond site, lets publish the topology to a database in the Central Management Store (CMS).
Abdi.Mreza@gmail.com
Abdi.Mreza@live.com
mr_abdi@live.com
Hi
The following steps must be performed before installation
In the next procedure, we will see how to use Topology Builder to add an additional site; how to define Lync Server Enterprise Edition Front End Pools; and how to define Front End Servers for those pools. We will also see how
to define other Lync Server components and configurations.
Next, we define the Enterprise Edition Front End pool for Rome, the site to be added, using Topology Builder.
We will now see how to prepare the topology for the new Lync by creating the necessary Domain Name System (DNS) records and the steps required to publish and enable the topology.
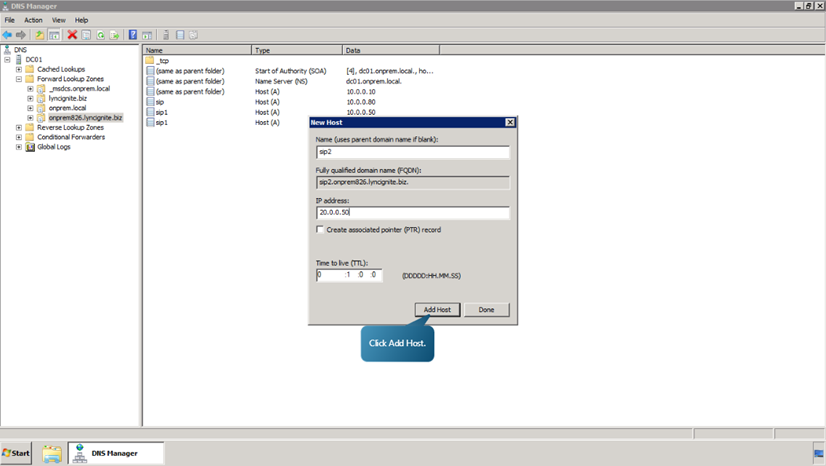
We shall now create the DNS A records for Session Initiation Protocol (SIP) in the Assigned Child Domain DNS zone. Specifically, lets create the SIP DNS records for the Redmond and Rome sites that are required for DNS load
balancing.
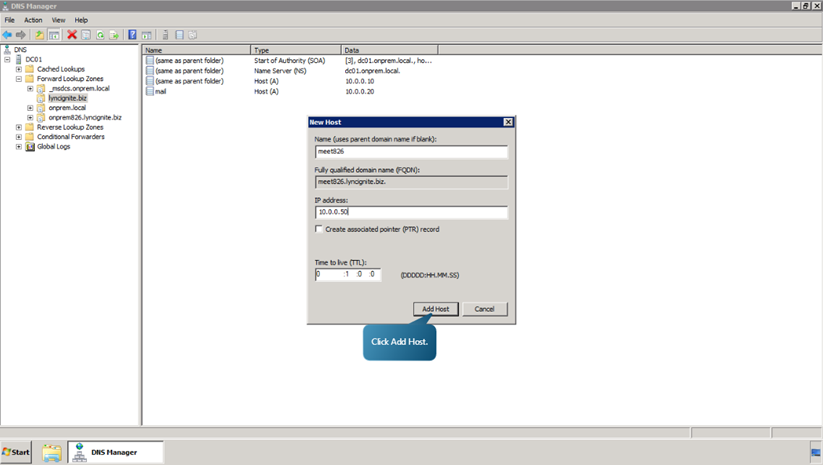
Now, we will see how to create the DNS A records for your organizations DNS zone.
Now, we will see how to create the Service (SRV) records necessary for automatic client sign-in.
Next, switching to Topology Builder on the first Front End Server now associated with the Redmond site, lets publish the topology to a database in the Central Management Store (CMS).
Abdi.Mreza@gmail.com
Abdi.Mreza@live.com
This topic is archived. No further replies will be accepted.


Click here to get your free copy of Network Administrator. Over 25 plugins to make your life easier